|
Find Part 1 and 2 by scrolling down the page.
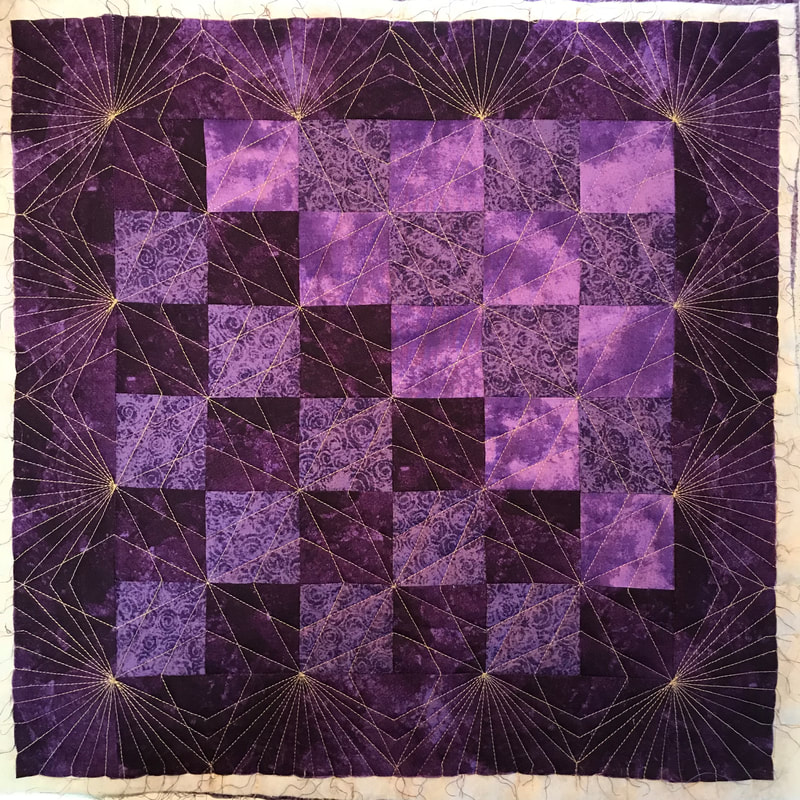
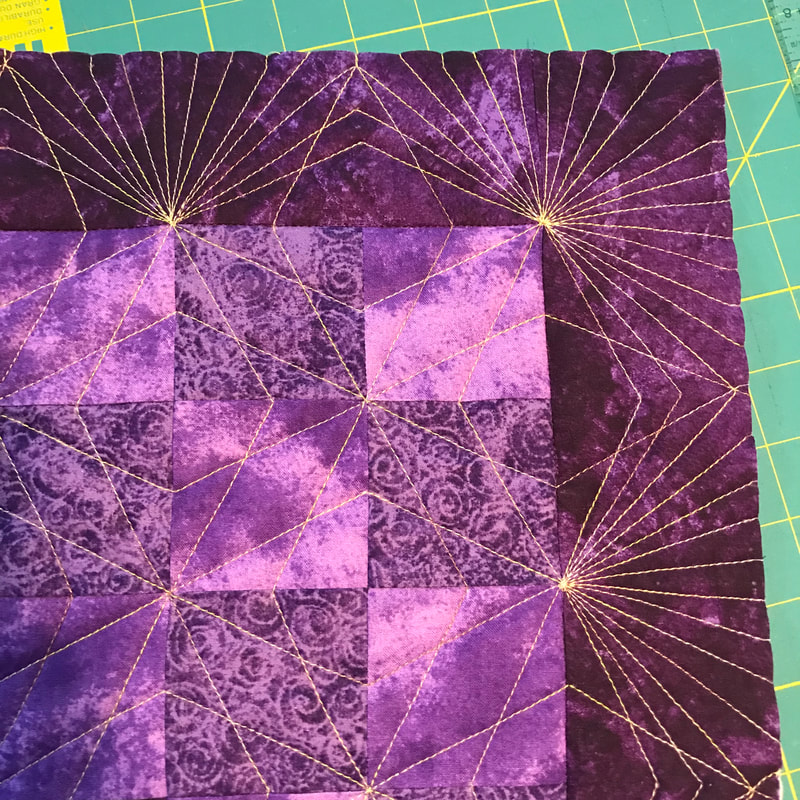
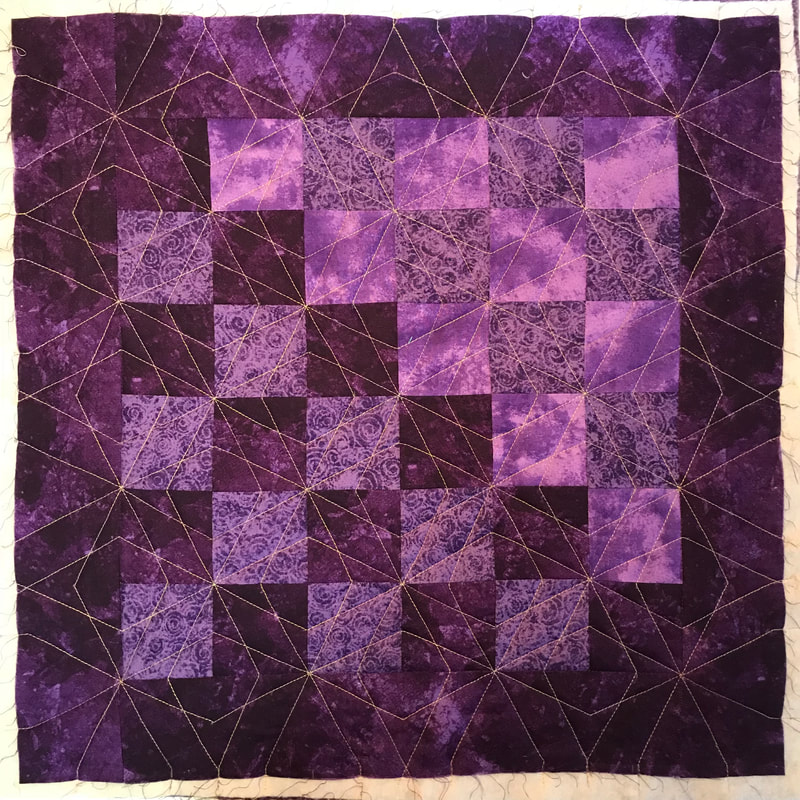
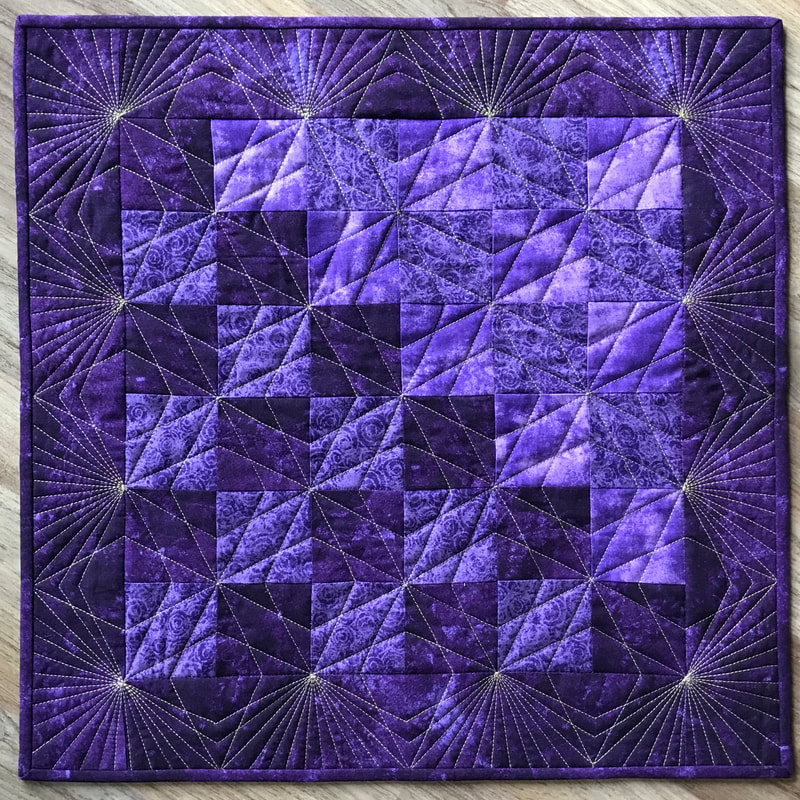
Congratulations! You are done quilting your quilt. Did you notice something? Every line you stitched started on the edge of the quilt and ended on the edge of the quilt. Do you know what that means? There are no threads to bury … Yay!!! (Unless of course you ran out of bobbin thread somewhere along the way.) It’s time to square up your quilt by trimming the excess batting off. Don’t be afraid to cut threads as you trim, the ends will all be secured in the binding. I am not going to post a binding tutorial as there are many tutorials online or you may already have a favourite method. My mini quilt will be a table topper or wall quilt but you could make a cushion or maybe you’ve got another idea. I’d love to see what you do with yours. By the way have you looked at the back? Doesn’t it look amazing too? Don’t forget to post pictures and tag them: #walkingfootquilting #walkingfootquiltalong @melissamarginet I hope you’ve enjoyed my Walking Foot Quilt Along and it has inspired you to do more walking foot quilting. Walking Foot Quilting Designs is filled with over 100 ideas to use your walking foot. I encourage you to start with a pattern like we did in the Walking Foot Quilt Along and see what you can do to make it uniquely yours.
You can find me online:
Instagram: @melissamarginet Facebook: Melissa Marginet - Quilter Facebook: Walking Foot Quilting Designs Website: melissamarginet.ca
2 Comments
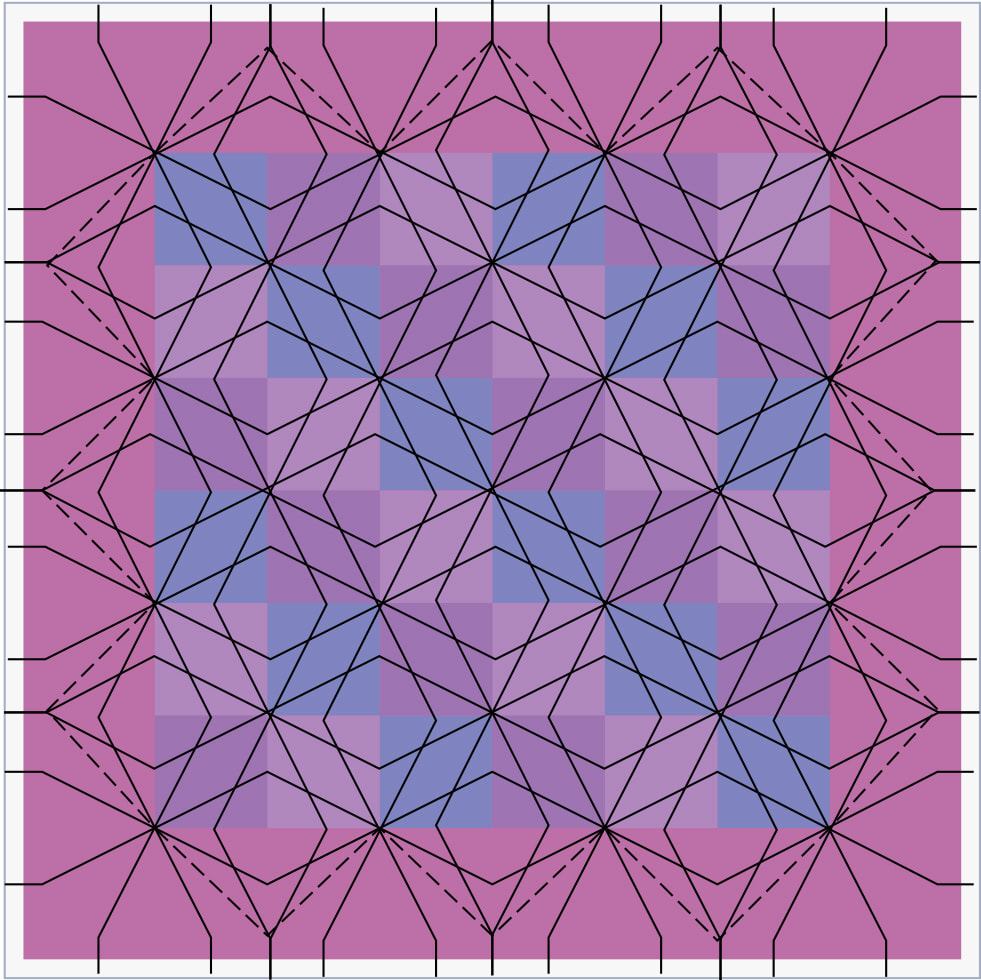
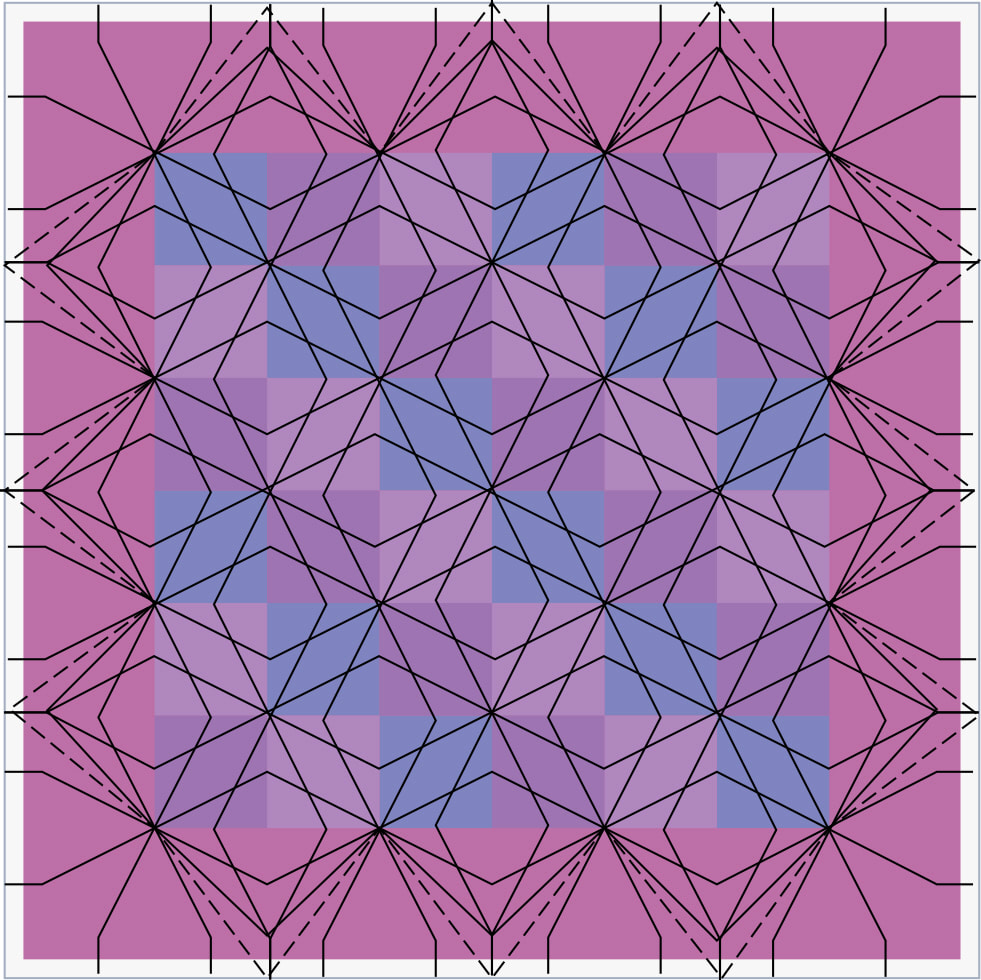
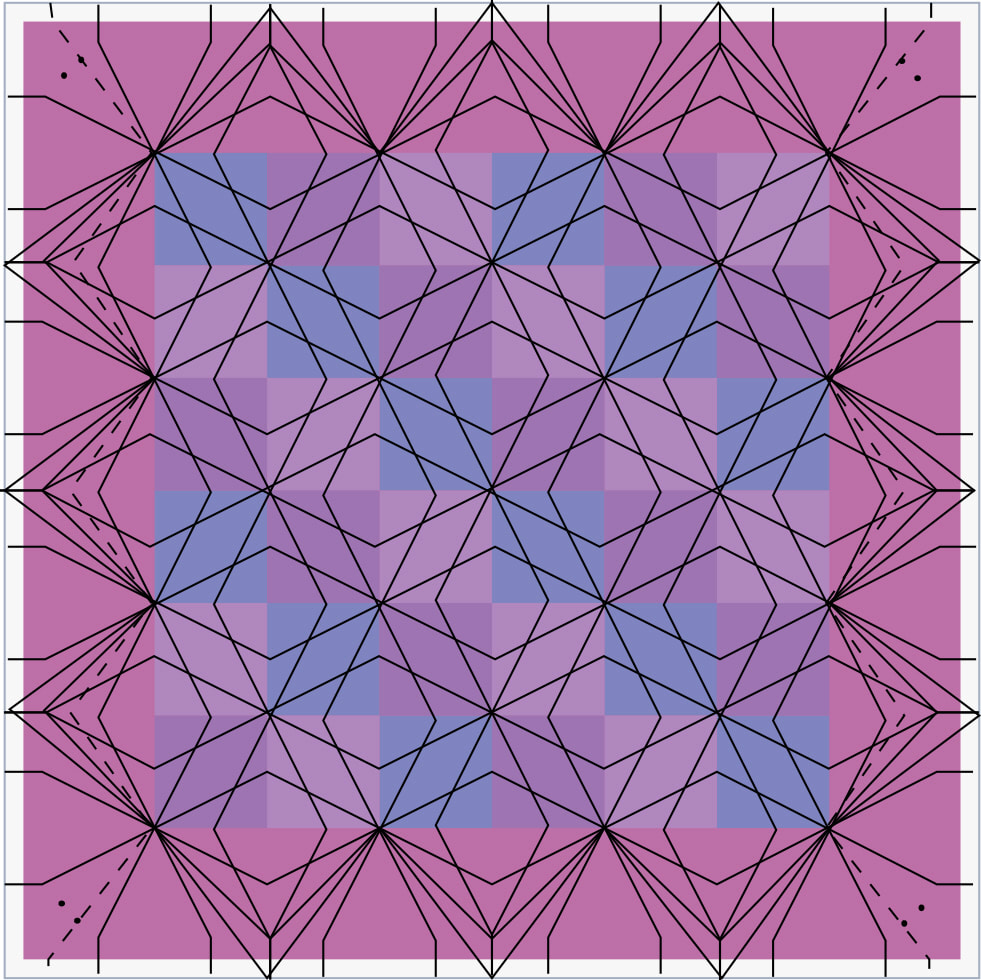
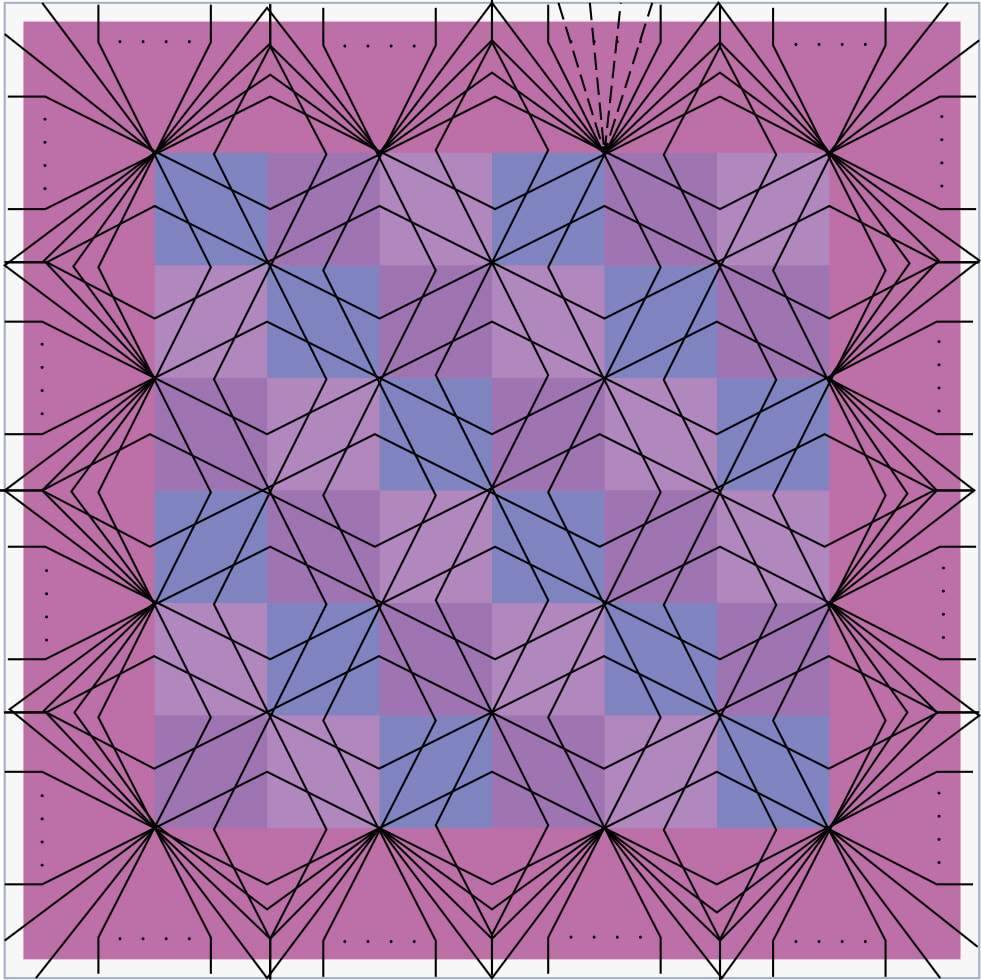
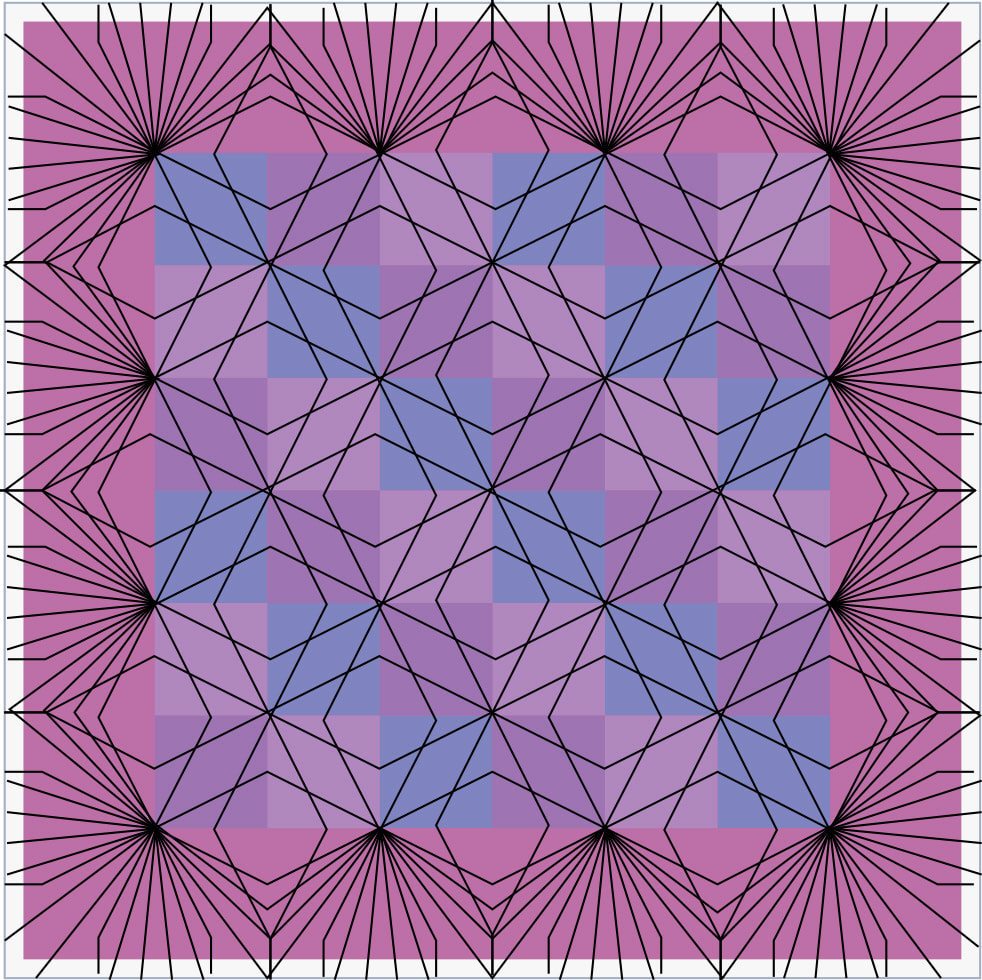
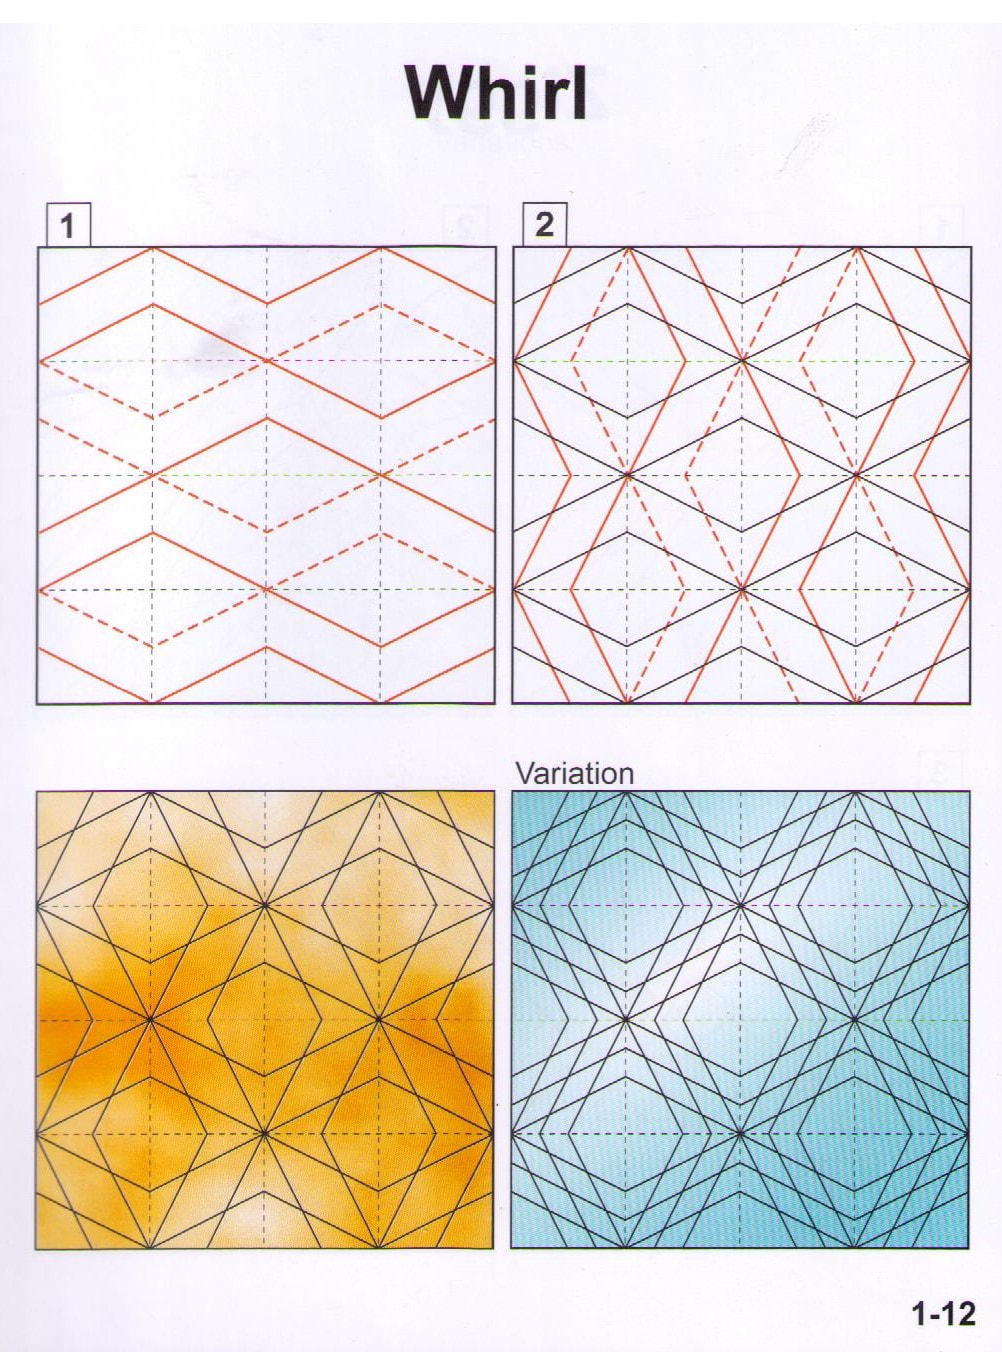
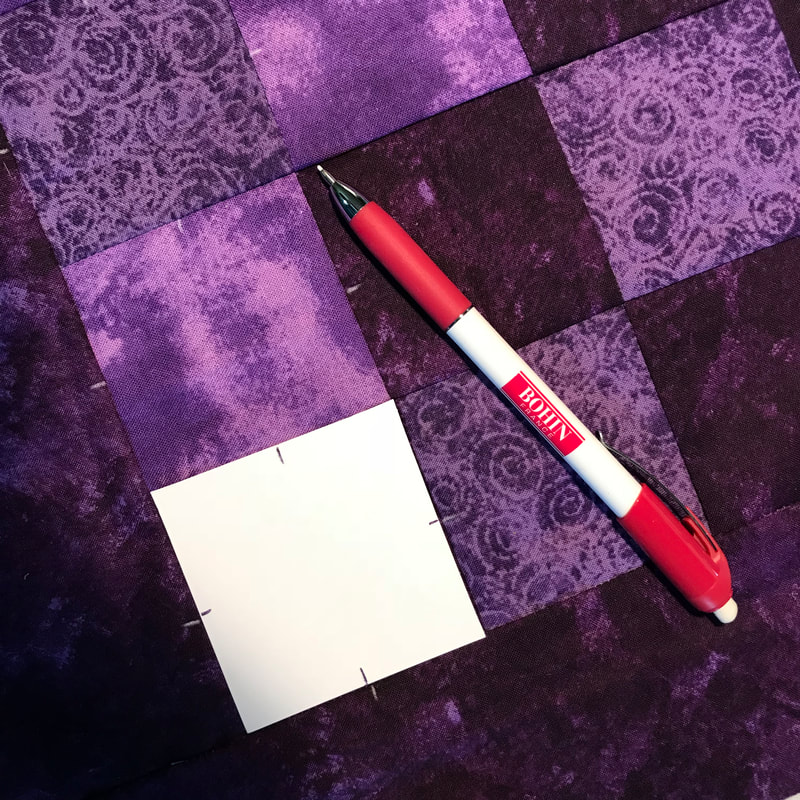
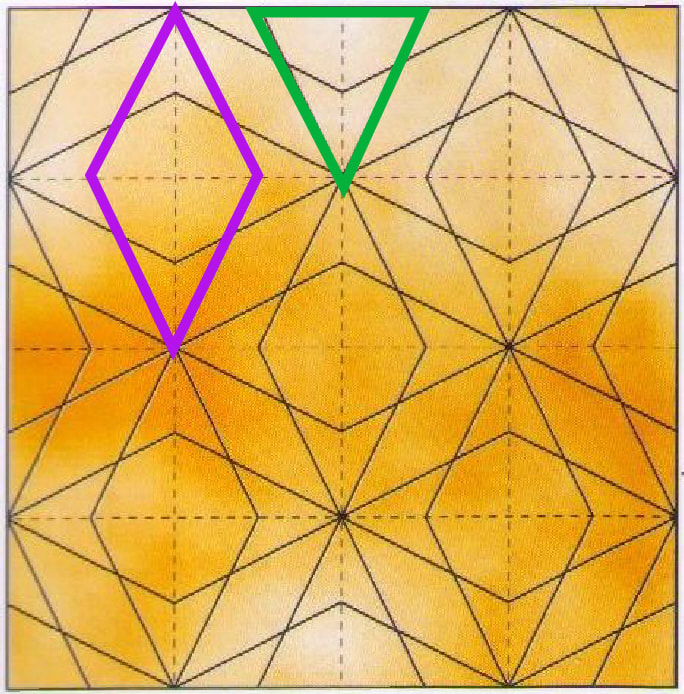
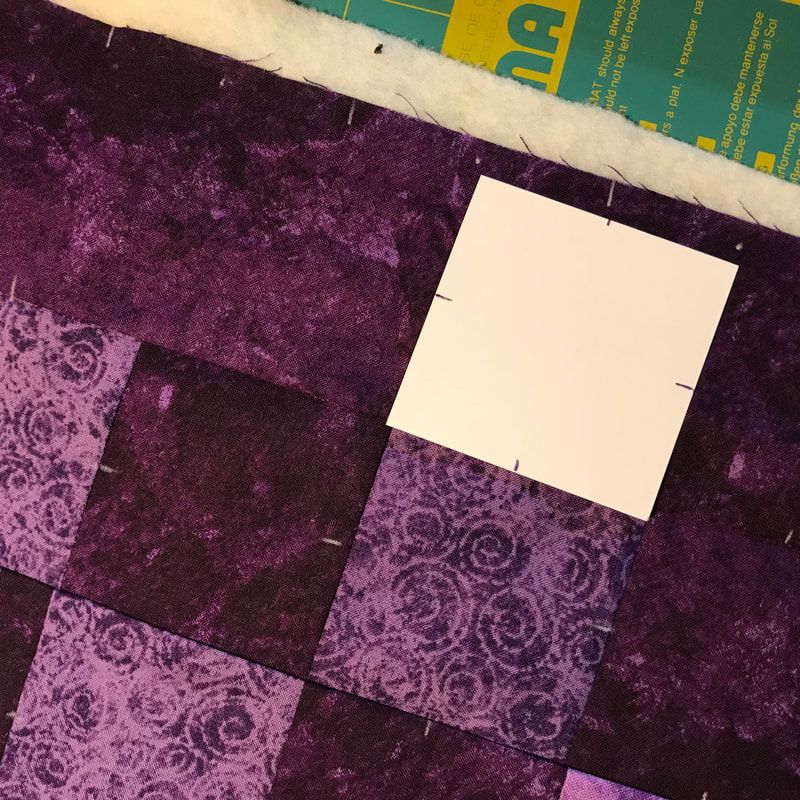
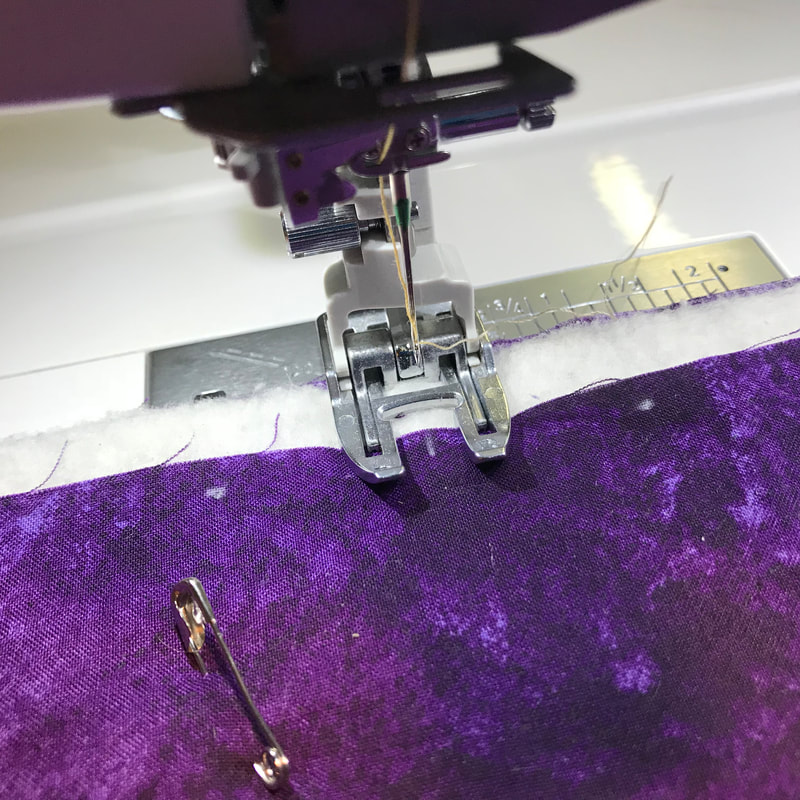
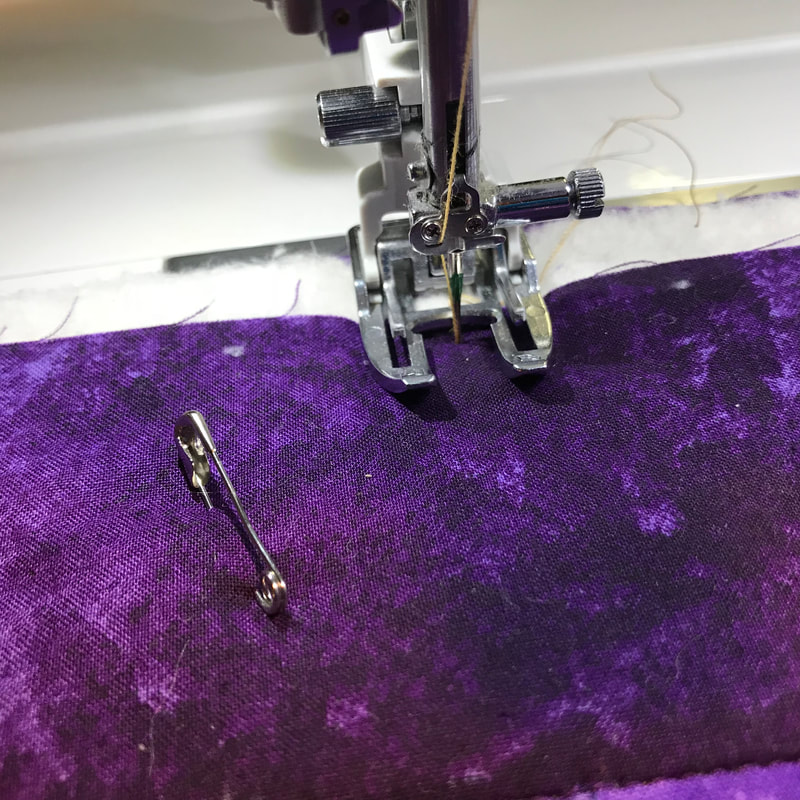
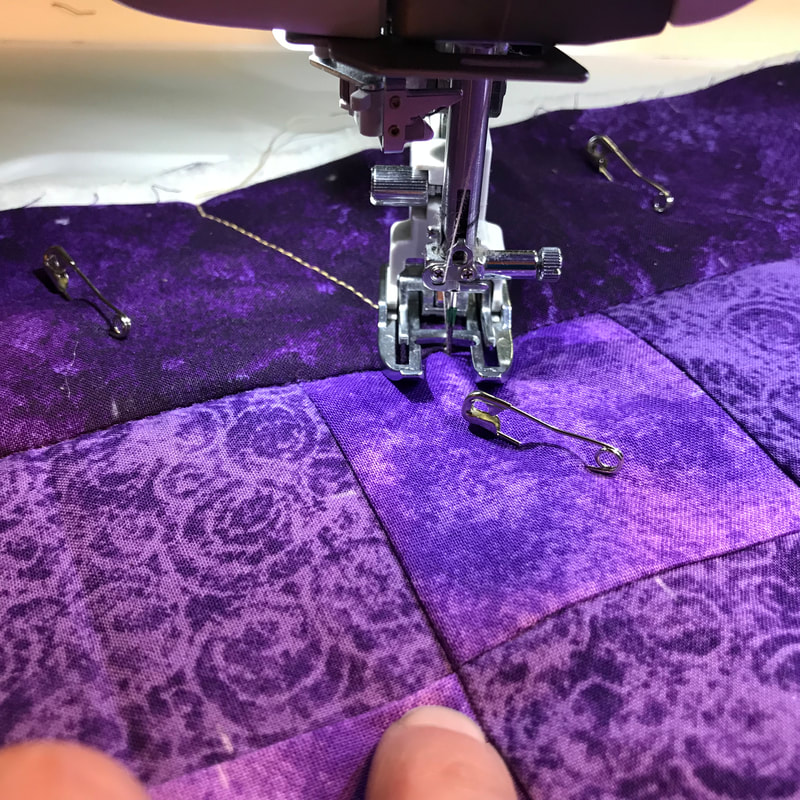
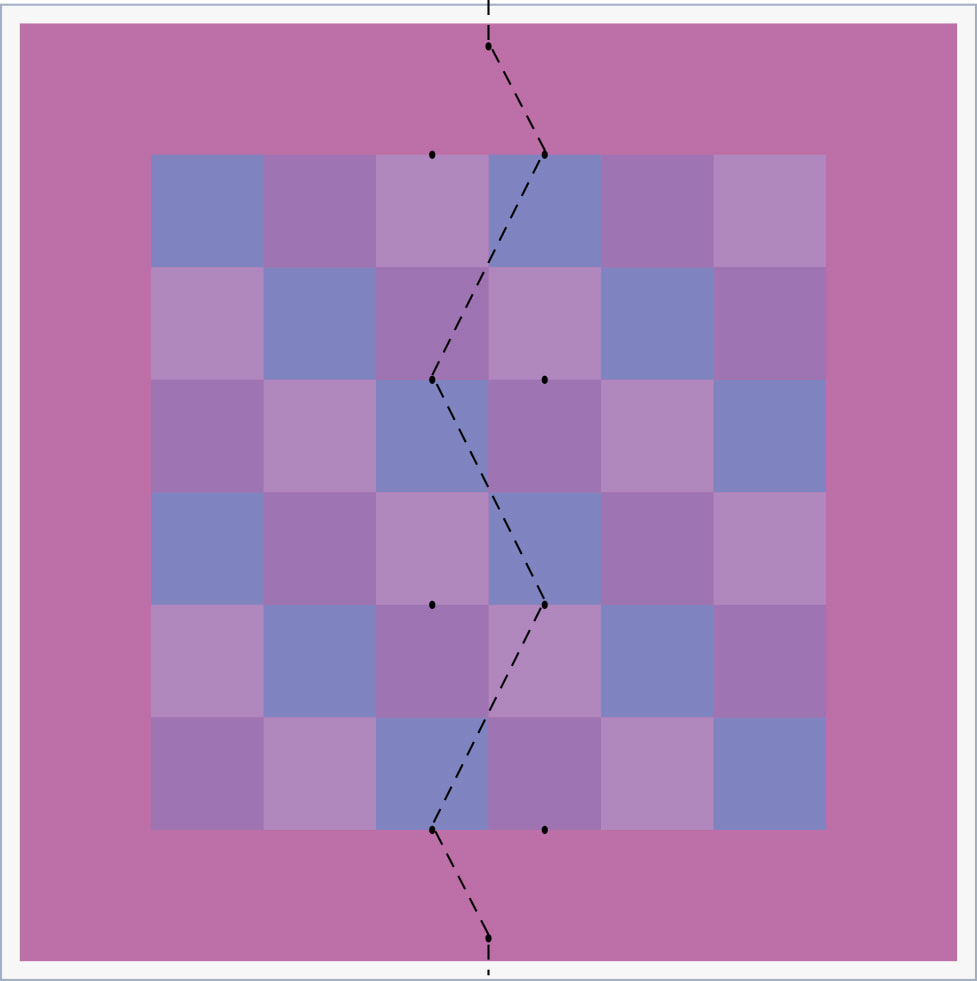
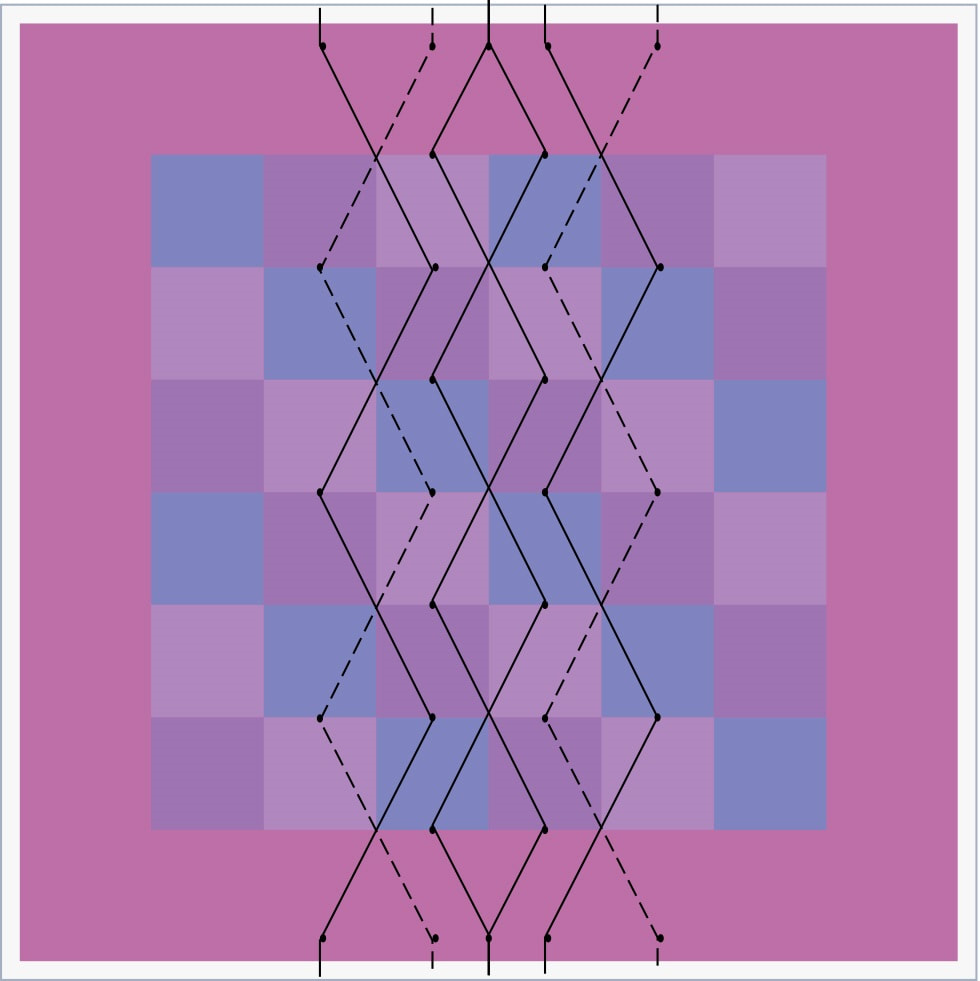
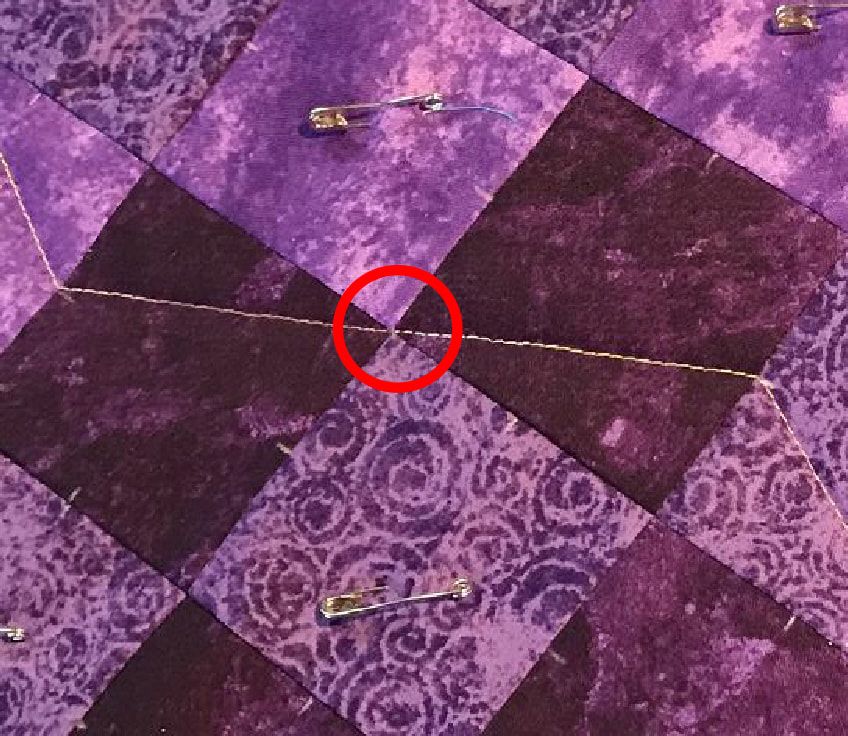
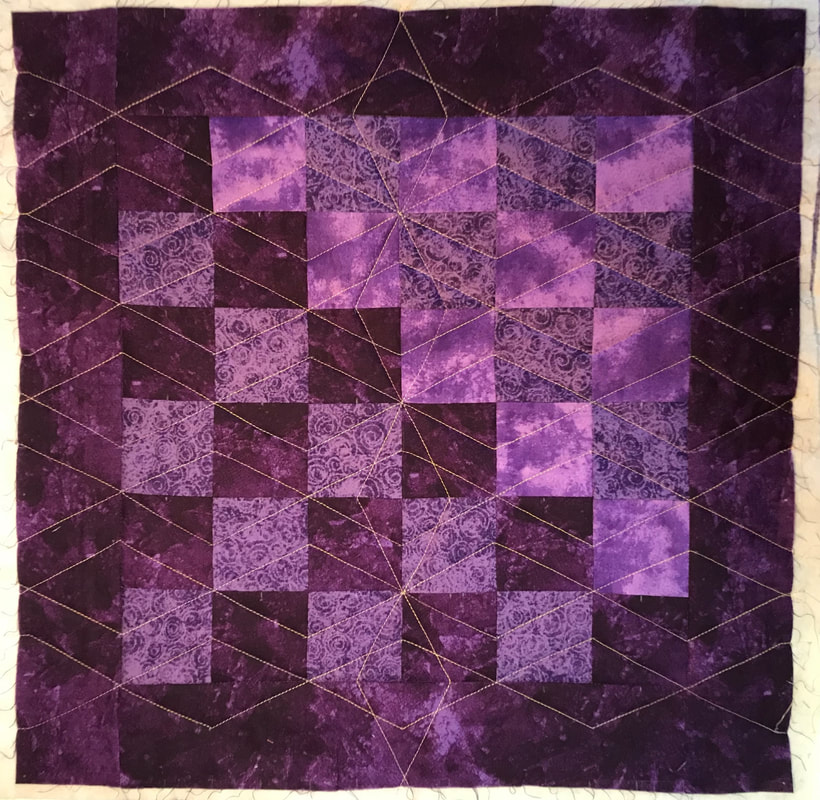
Stitching: Always begin stitching on the batting just off the quilt top. Stitch to the mark a quarter inch onto the quilt top and stop with your needle down and your foot up. Pivot your quilt so it is aimed directly at the next mark you need to stitch to. Continue stitching in this manner across the quilt and sew off onto the batting on the other side. Cut your thread, pull your quilt back towards you and stitch the next line in the same manner. Make your next set of markings and continue stitching.
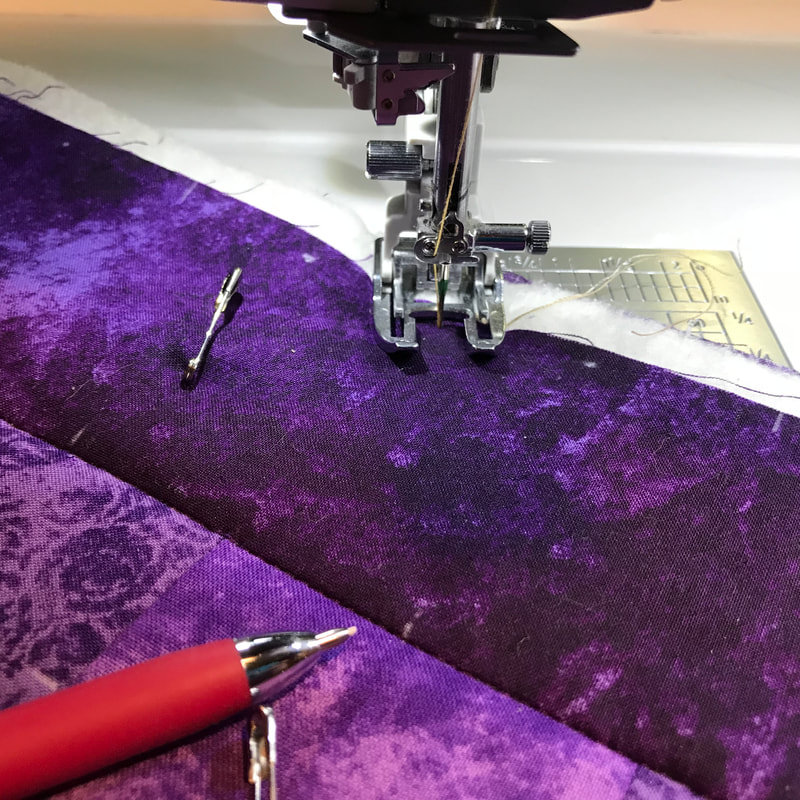
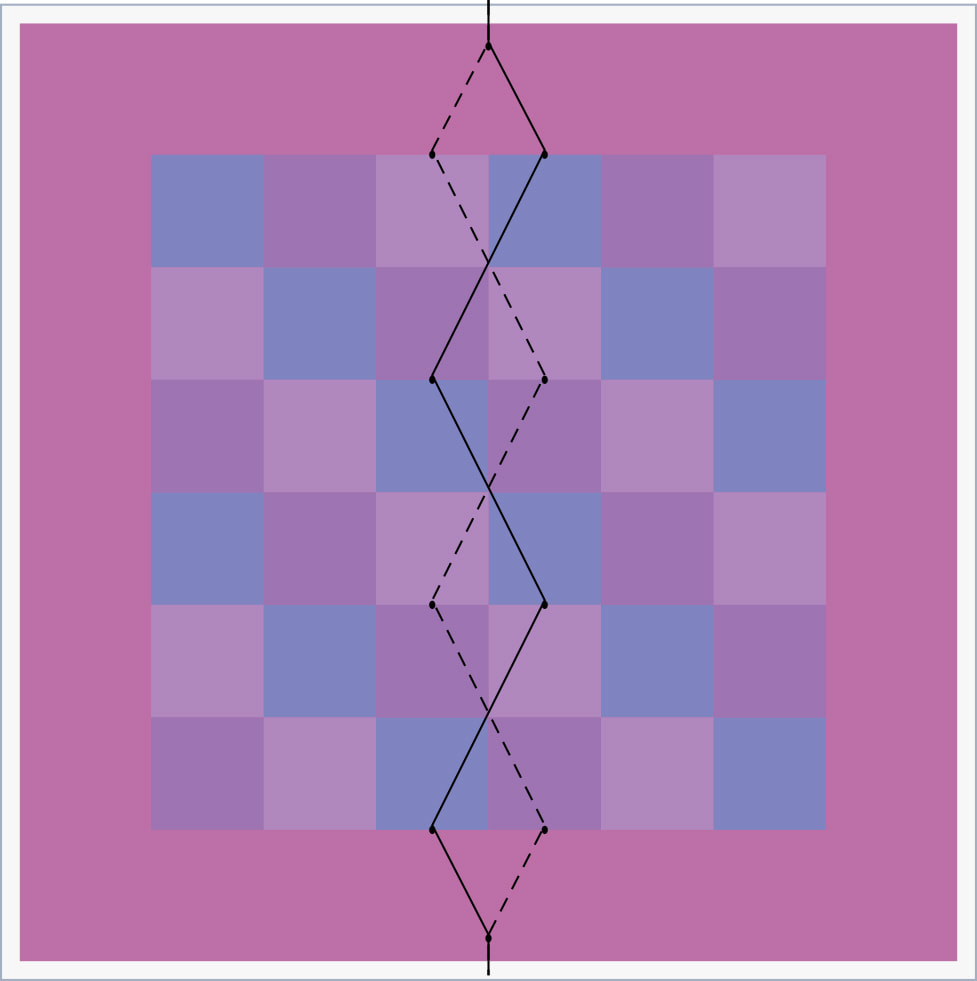
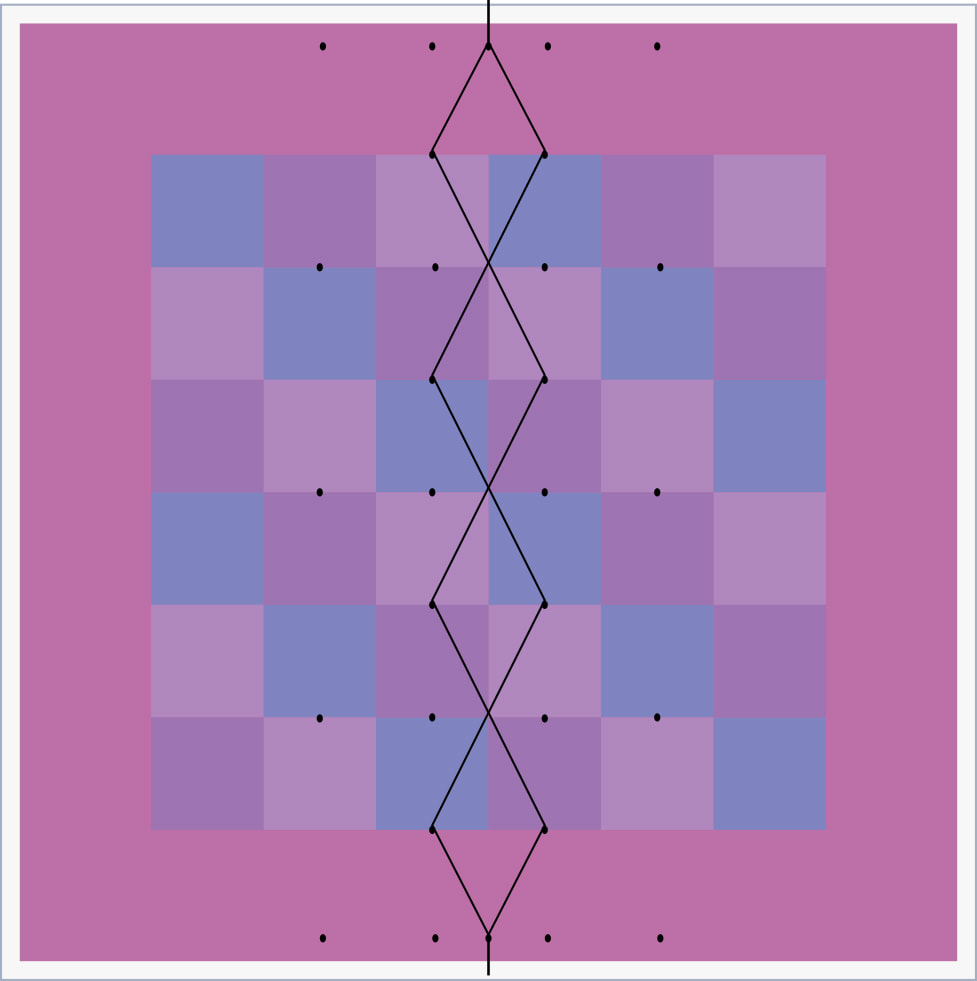
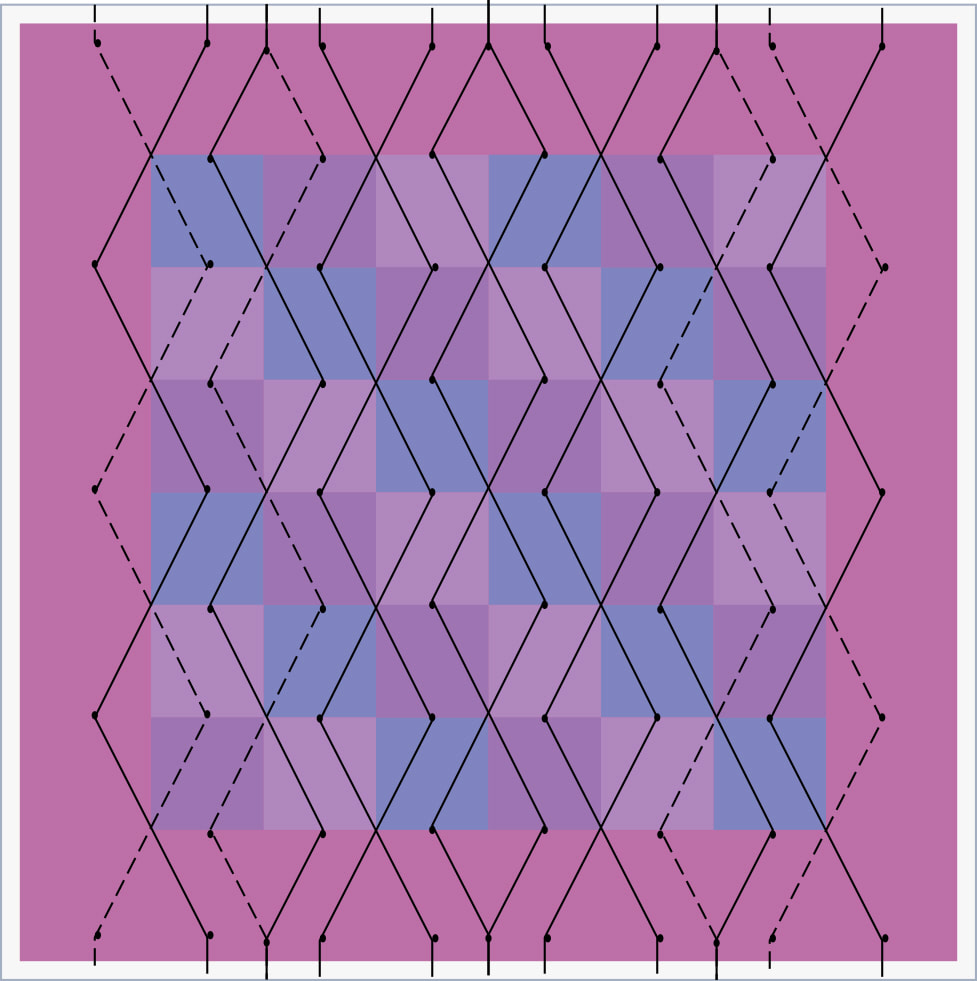
Turn your quilt a quarter turn and repeat the process. I hope you're enjoying this quilt along. Don't forget to post your progress. Use these hashtags and tag me so I see your work.
#walkingfootquiltalong #walkingfootquilting @melissamarginet If you have any questions, contact me through social media or email me at [email protected]. Part 3 will be posted on Friday, November 16 so I can link it up to Tips and Tutorials Festival hosted by Yvonne from Quilting Jetgirl and Cheryl from Meadow Mist Designs. You can find them online: Instagram: @quiltingjetgirl & @meadowmistdesigns Facebook: Quilting Jetgirl & Meadow Mist Designs Websites: https://quiltingjetgirl.com/ & https://meadowmistdesigns.blogspot.com/ And you can find me online: Instagram: @melissamarginet Facebook: Melissa Marginet - Quilter Facebook: Walking Foot Quilting Designs Website: melissamarginet.ca
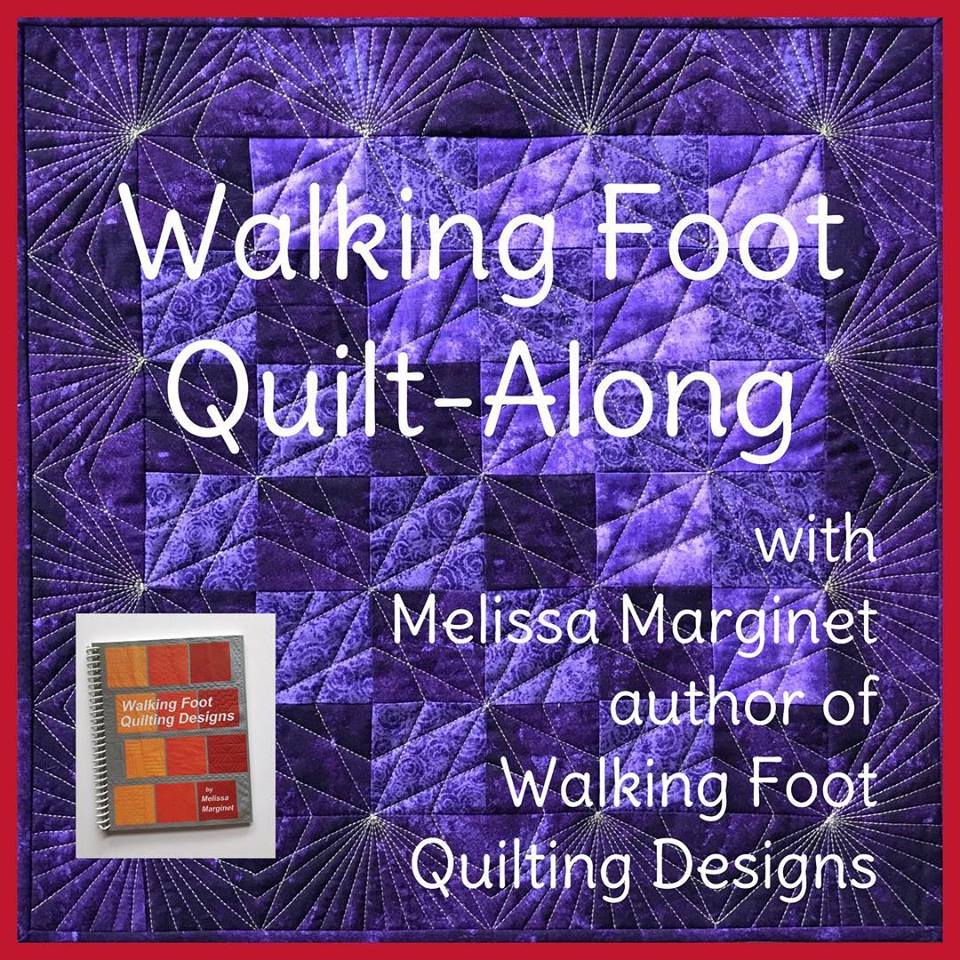
Hello. Thank you for visiting. I hope you're here because you want to quilt along with me. The first thing you need to do is make a quilt top. I chose very simple patchwork so you could put it together quickly and we can get to the quilting. - Go through your stash and cut out 36 3" squares of fabric in your colour choice. The feature of this little quilt will be the quilting so choose solids, or tone on tones that will allow the stitching to show. - Lay out your 36 squares configured 6 x 6 till you are happy with the layout then stitch them together. - Cut two 3" strips of fabric x WOF. Add a border all the way around the quilt. - Pick a thread colour that is a contrast to the fabric colour. I used a 30wt Sulky blendable. The heavier the thread and the more contrast in colour, the more it will show. Here are some options for your quilt. - Tone on tone purple fabrics which became the finished quilt you see above. - Solid scraps sewn randomly together and cut into 3" squares then pieced again into the same sized quilt top as the purple one. - A work in progress. I purchased a charm pack and matching border fabric from Needle Crafts & Studio. I haven't decided on the exact layout yet but the one you see here is not bad. I will have to choose a very dark thread if I want it to show on all these colours. 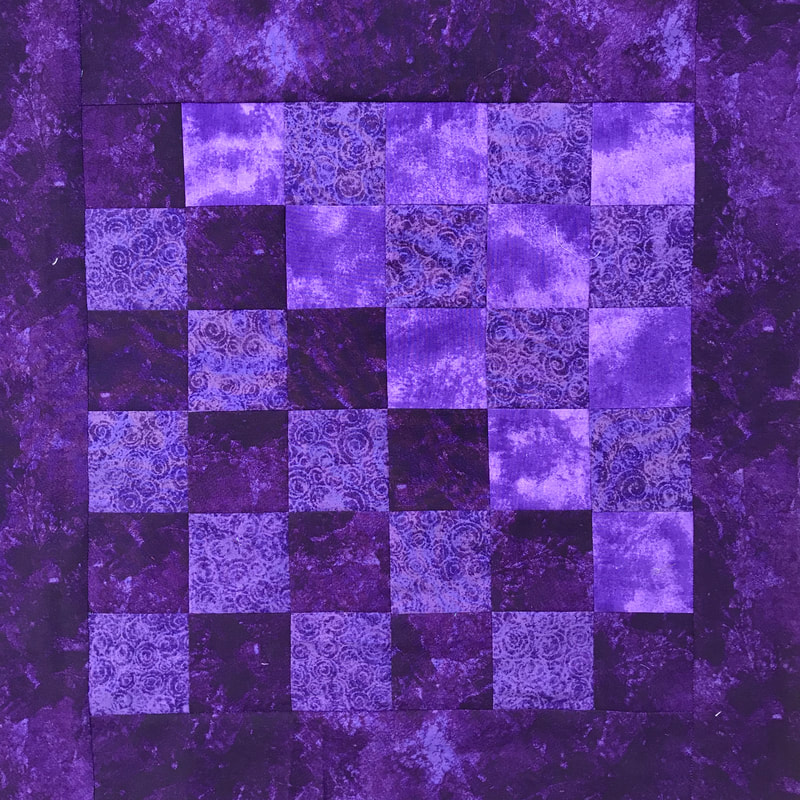 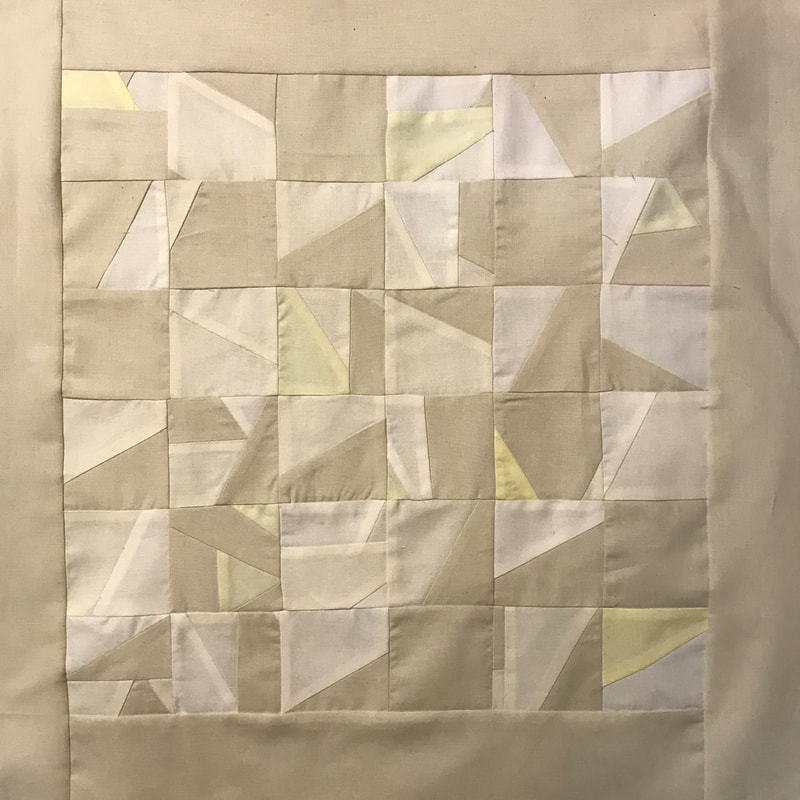 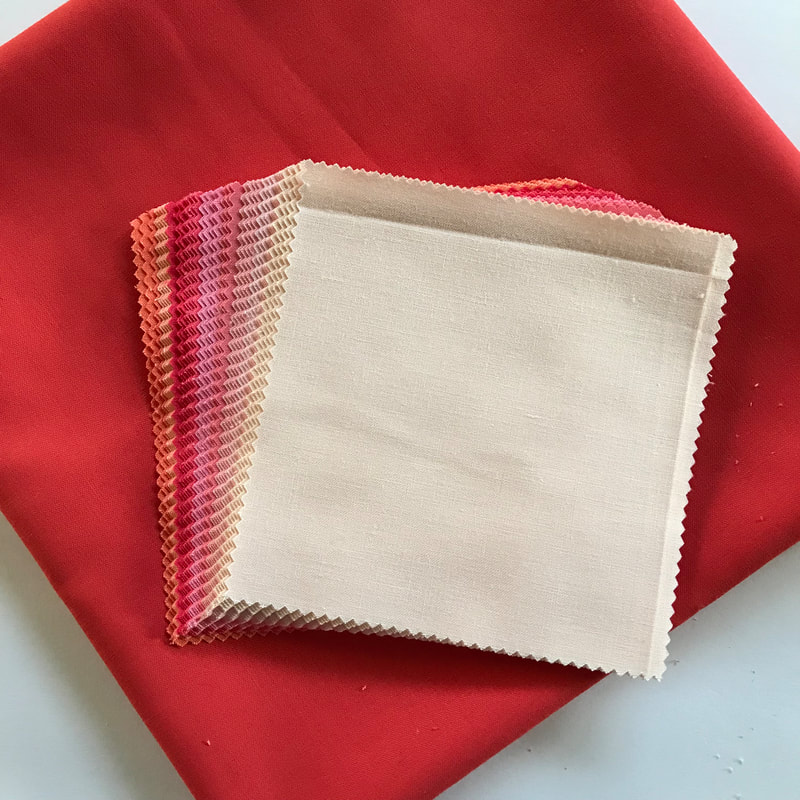 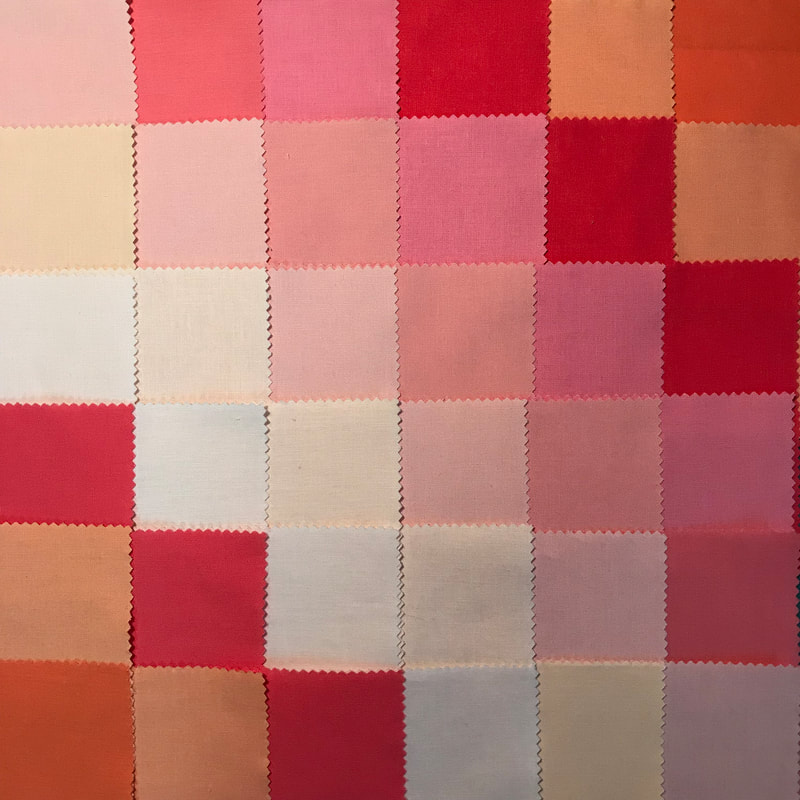 Variations: You can make your quilt any size you want and still quilt along with me. Using the charm pack and cutting 5" strips for the border, my finished quilt will measure 36" square. If I cut the charms into 2.5" squares and cut my border strips at 2.5" I will end up with a 16" square quilt. I could then get 4 small quilts out of one charm pack. If this matched my living room I could make them into 4 cushions.
One more thing, layer your quilt with batting and backing. I pin basted mine but use your preferred method and we'll see you back here on November 12. Don't forget to post your progress. Use these hashtags and tag me so I see your work. #walkingfootquiltalong #walkingfootquilting @melissamarginet Stay tuned! Melissa UPDATE: Part 2 - November 12 |

Melissa Marginet
- Quilt Maker 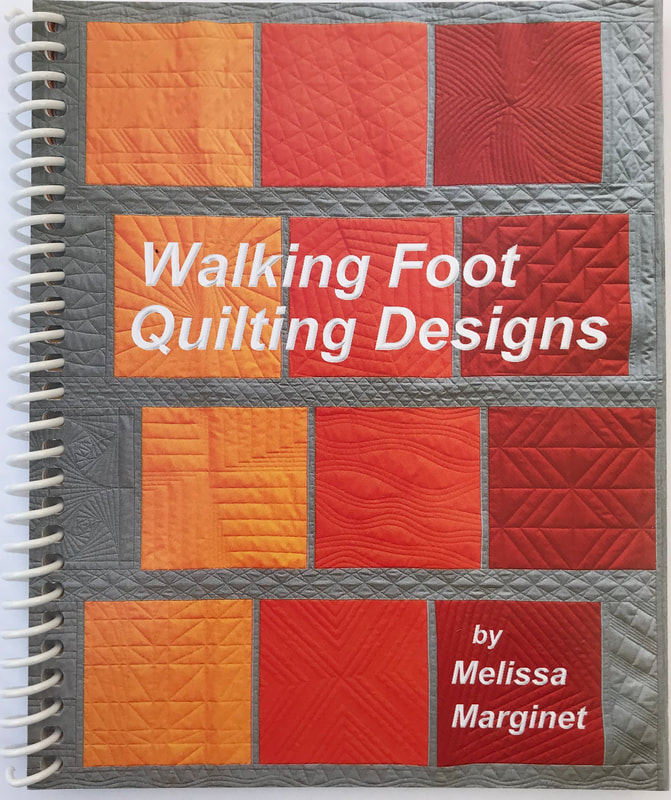
ArchivesCategories

|